

There is a particular kind of dessert that does not try to impress anyone, and that is exactly why everyone loves it. Banana pudding is not fancy. It does not need a piping bag, a blowtorch, or a special pan you will use twice and then lose at the back of a cupboard. It is a bowl of soft wafers, ripe bananas, and cool vanilla custard, and when it is made well, people go quiet for a second after the first spoonful, then ask for the recipe. That quiet second is the whole point.
I learned to make banana pudding the way most people learn the recipes that stick: by watching someone else make it without measuring very much. My aunt made it in a big glass bowl, the kind you could see straight through, so the layers were part of the show. She would line the bowl with vanilla wafers, add a thick layer of sliced bananas, pour over warm custard, and repeat until the bowl was full. Then she would cover it, put it in the fridge, and tell us, firmly, that it was not ready yet. That was the hardest part. A banana pudding that has just been put together is fine, but a banana pudding that has sat in the fridge for a few hours is something else entirely. The wafers soften, the custard settles around the bananas, and the whole thing turns into one soft, spoonable dessert instead of a pile of separate parts.
This version keeps that old-fashioned spirit but uses a custard you can actually make without stress. You do not need a double boiler or a thermometer, and you do not need to stand over the stove for half an hour. The custard comes together in one saucepan in about ten minutes, thickens gently, and then cools into something silky and rich. If you have ever been put off by a pudding that tasted like cornstarch and nothing else, this one will change your mind. The egg yolks give it body, the butter gives it shine, and a good splash of vanilla gives it the flavour that makes the whole bowl taste like more than the sum of its parts.
The other thing worth saying up front is that this is a forgiving dessert. The bananas do not need to be perfect. In fact, they should not be. You want bananas that are ripe, sweet, and speckled, the kind that are almost too soft for eating out of hand. Under-ripe bananas will stay firm and a little starchy in the finished pudding, and that is the one mistake that is hard to fix afterwards. If your bananas are still a bit green, leave them on the counter for a day or two and come back to this recipe when they are ready. The pudding will wait. It is better to wait for the right bananas than to rush it with the wrong ones.
What follows is the version I make most often: enough for a family dinner or a small gathering, made in a large bowl or a trifle dish, and best made the morning of the day you want to serve it, or the night before. It takes a little patience while it chills, but almost no active work, and it is the kind of dessert that makes an ordinary weeknight dinner feel like an occasion.
Why You Will Love This Recipe
First, it is genuinely easy. There is no baking, no gelatin to bloom, and no complicated technique to master. If you can stir a saucepan and slice a banana, you can make this pudding. The custard thickens on the stove in minutes, and the assembly is just layering, which is the most relaxing part of any dessert. It is a good recipe for a beginner, and a good recipe for a tired cook who still wants to bring something homemade to the table.
Second, it feeds a crowd without much cost or effort. A box of vanilla wafers, a few bananas, milk, eggs, and sugar will make a bowl that serves eight to ten people comfortably. That makes it ideal for potlucks, family dinners, and those evenings when friends drop by and you want dessert to appear without a trip to the shop. It also scales well. Halve it for a smaller bowl, or make it in individual glasses if you want something that looks a little more dressed up.
Third, the texture is what keeps people coming back. A good banana pudding is soft all the way through, but not mushy. The wafers on the bottom turn almost cake-like, the ones in the middle stay just a little bit firm, and the top layer, if you save a few wafers for garnish, keeps a bit of crunch. The bananas melt into the custard, the custard is cool and creamy, and a spoonful of whipped cream on top lightens the whole thing. It is comfort food in the truest sense: familiar, gentle, and hard to argue with.
Finally, it is a make-ahead dream. Banana pudding actually gets better after a few hours in the fridge, which means you can make it in the morning, forget about it all day, and serve it in the evening without any last-minute work. On a busy day, that is worth more than any fancy technique. Dessert is done before dinner even starts, and that alone makes the evening feel calmer.
Ingredients You Will Need
For the vanilla custard, you will need 3 cups of whole milk, 3 large egg yolks, 3/4 cup of granulated sugar, 1/4 cup of cornstarch, 1/4 teaspoon of fine salt, 2 tablespoons of unsalted butter, and 2 teaspoons of pure vanilla extract. Whole milk matters here. Skimmed milk will make a thinner custard that never quite tastes rich enough, and while you can use semi-skimmed in a pinch, the difference is noticeable. If you want an extra-luxurious version, replace half a cup of the milk with double cream, but it is not necessary for a great result.
For the layers, you will need 5 to 6 ripe bananas, sliced into rounds about 1/4 inch thick, and one 11-ounce box of vanilla wafers, about 60 to 70 wafers. You will also need 1 tablespoon of lemon juice, which you will toss with the banana slices to slow down browning. It will not stop it completely, and it does not need to. A little browning on the bananas inside the pudding is normal and does not affect the flavour, but the lemon juice buys you time and keeps the slices looking fresher for longer.
For the topping, you will need 1 1/2 cups of heavy whipping cream, 2 tablespoons of powdered sugar, and 1 teaspoon of vanilla extract. You can also use a tub of whipped topping if that is what you have, and nobody will mind, but freshly whipped cream tastes lighter and less sweet, which suits this pudding well. Save a handful of wafers, whole or lightly crushed, for decorating the top just before serving, so they stay crisp.
A note on the wafers: use plain vanilla wafers, the crisp, round kind, not soft cookies or shortbread. The crispness is what lets them soften gradually in the custard without dissolving into mush straight away. If you can only find a different brand, that is fine, as long as the wafers are dry and crunchy. And if you are making this for someone who cannot eat wheat, a gluten-free vanilla wafer works in the same way, though it may soften a little faster, so do not over-chill it.
How to Make Classic Banana Pudding With Vanilla Wafers
Start with the custard, because it needs time to cool. In a medium saucepan, whisk together the sugar, cornstarch, and salt until there are no lumps of cornstarch left. This step matters more than it looks. If you add the milk first and then try to whisk in the cornstarch, you will get lumps that are hard to stir out. Whisking the dry ingredients first takes ten seconds and saves you a lot of trouble later.
Pour in the milk a little at a time, whisking as you go, until the mixture is smooth. Add the egg yolks and whisk again until they are fully combined and the mixture looks pale and even. Put the saucepan over medium heat and cook, stirring constantly with a wooden spoon or a heatproof spatula, scraping the bottom and the corners of the pan as you go. Do not walk away at this point. Custard thickens suddenly, and it can catch on the bottom if you stop stirring.
After about 8 to 10 minutes, the custard will start to thicken noticeably. It will go from thin and milky to something that coats the back of a spoon and holds a line when you run your finger through it. When it reaches a gentle bubble or two, keep stirring for one more minute, then take it off the heat. Stir in the butter until it melts, then add the vanilla extract. Pour the custard into a clean bowl or jug, press a piece of cling film directly onto the surface so a skin does not form, and leave it to cool for about 30 minutes. It should still be warm, but not hot, when you start layering. If it cools completely, it will be thicker and harder to spread, though it will still work if you give it a good whisk first.
While the custard cools, slice the bananas and toss them gently with the lemon juice in a large bowl. Be gentle here. Ripe bananas bruise easily, and you want neat rounds, not mashed banana. Set them aside while you get your serving bowl ready. A large glass bowl, a trifle dish, or a 9 by 13 inch dish all work. Glass is nice because you can see the layers, but any deep dish will do.
Now comes the layering, which is the best part. Start with a layer of vanilla wafers across the bottom of the dish, fitting them in a single layer with as few gaps as possible. Add a layer of banana slices on top of the wafers, then spoon over about a third of the warm custard and spread it gently to the edges. Repeat: wafers, bananas, custard, wafers, bananas, custard, until you run out, finishing with a layer of custard on top. You should get three full layers from these quantities. Do not press down hard as you layer. A light hand keeps the wafers from breaking and the bananas from squashing.
Cover the dish with cling film, making sure the film does not touch the top layer of custard if you can help it, and put it in the fridge for at least 4 hours, or overnight if you have time. This chilling time is not optional. It is when the wafers soften and the flavours come together. A pudding chilled for only an hour will taste like separate layers. A pudding chilled overnight will taste like banana pudding, and the difference is worth waiting for.
Just before serving, whip the cream with the powdered sugar and vanilla until soft peaks form. That means the cream holds its shape when you lift the whisk, but the peak flops over a little at the tip. Do not over-whip it into stiff, grainy peaks. Spread or pipe the cream over the top of the chilled pudding, decorate with the reserved wafers, whole or crushed, and serve straight from the fridge in generous spoonfuls. If you want, add a few fresh banana slices on top at the last minute, but do not add them earlier or they will brown.
Tips
The single most important tip is about the bananas. Use bananas that are ripe and sweet, with brown speckles on the skin, but still firm enough to slice cleanly. If a banana is so soft it collapses when you peel it, it will turn to mush in the pudding. If it is still green at the tips, it will taste starchy. The sweet spot is a banana that yields slightly when you press it and smells sweet at the stem end.
The second tip is about the custard. Stir constantly, and do not let the heat get too high. Medium heat is right. High heat will scramble the egg yolks before the cornstarch has a chance to thicken the mixture, and you will end up with sweet scrambled eggs, which is not the dessert anyone asked for. If you do see a few small lumps, do not panic. Pour the custard through a fine sieve into a clean bowl and the lumps will stay behind.
The third tip is about timing. Make the pudding the day before if you can. It will be at its best between 8 and 24 hours after assembly. After about 48 hours, the bananas will start to darken more noticeably and the wafers will be very soft. It will still taste good, but it will not look as pretty, so plan to serve it within two days for the best result.
Finally, do not skip the salt. A quarter teaspoon seems small, but it makes the vanilla taste more like vanilla and stops the custard from tasting flat. The same goes for using real vanilla extract rather than essence if you can. The flavour difference is subtle but real, especially in a dessert where vanilla is doing most of the work.
Variations to Try
Once you have the classic version down, there are a few easy ways to change it up without changing the method. For a chocolate banana pudding, stir 1/2 cup of chocolate chips into the hot custard until they melt, and use chocolate wafers instead of vanilla wafers for one or two of the layers. The result tastes like a banana split in pudding form, and it is especially good with a drizzle of chocolate sauce on top.
For a peanut butter version, whisk 1/3 cup of smooth peanut butter into the hot custard until it is fully combined, and sprinkle chopped roasted peanuts over the whipped cream. This is a richer pudding, so serve smaller portions, but the combination of peanut butter, banana, and vanilla is hard to beat. It is the kind of variation that turns a familiar dessert into something people talk about afterwards.
For a lighter, summery version, make the pudding in individual glasses and add a layer of sliced strawberries or a spoonful of crushed pineapple, well drained, between the banana layers. The fruit adds freshness and colour, and the individual glasses make it feel special without any extra work. Just remember that fresh pineapple contains an enzyme that can thin custard if it sits too long, so use tinned pineapple, drained, or add fresh fruit only to the top layer and serve the same day.
For a more grown-up version, add a tablespoon of dark rum or bourbon to the custard along with the vanilla, and use a few extra wafers on top for crunch. The alcohol flavour will mellow as the pudding chills, leaving warmth rather than a sharp taste. This version is best kept for adults, obviously, and it is lovely served after a simple roast dinner.
You can also play with the topping. A layer of meringue, browned briefly under the grill, is the traditional Southern topping for banana pudding, and it looks beautiful. If you try it, make sure the meringue is spread right to the edges of the dish so it seals the pudding underneath, and watch it closely under the grill because it browns in seconds. Whipped cream is easier and more forgiving, so choose the topping that suits your day.
Serving Ideas
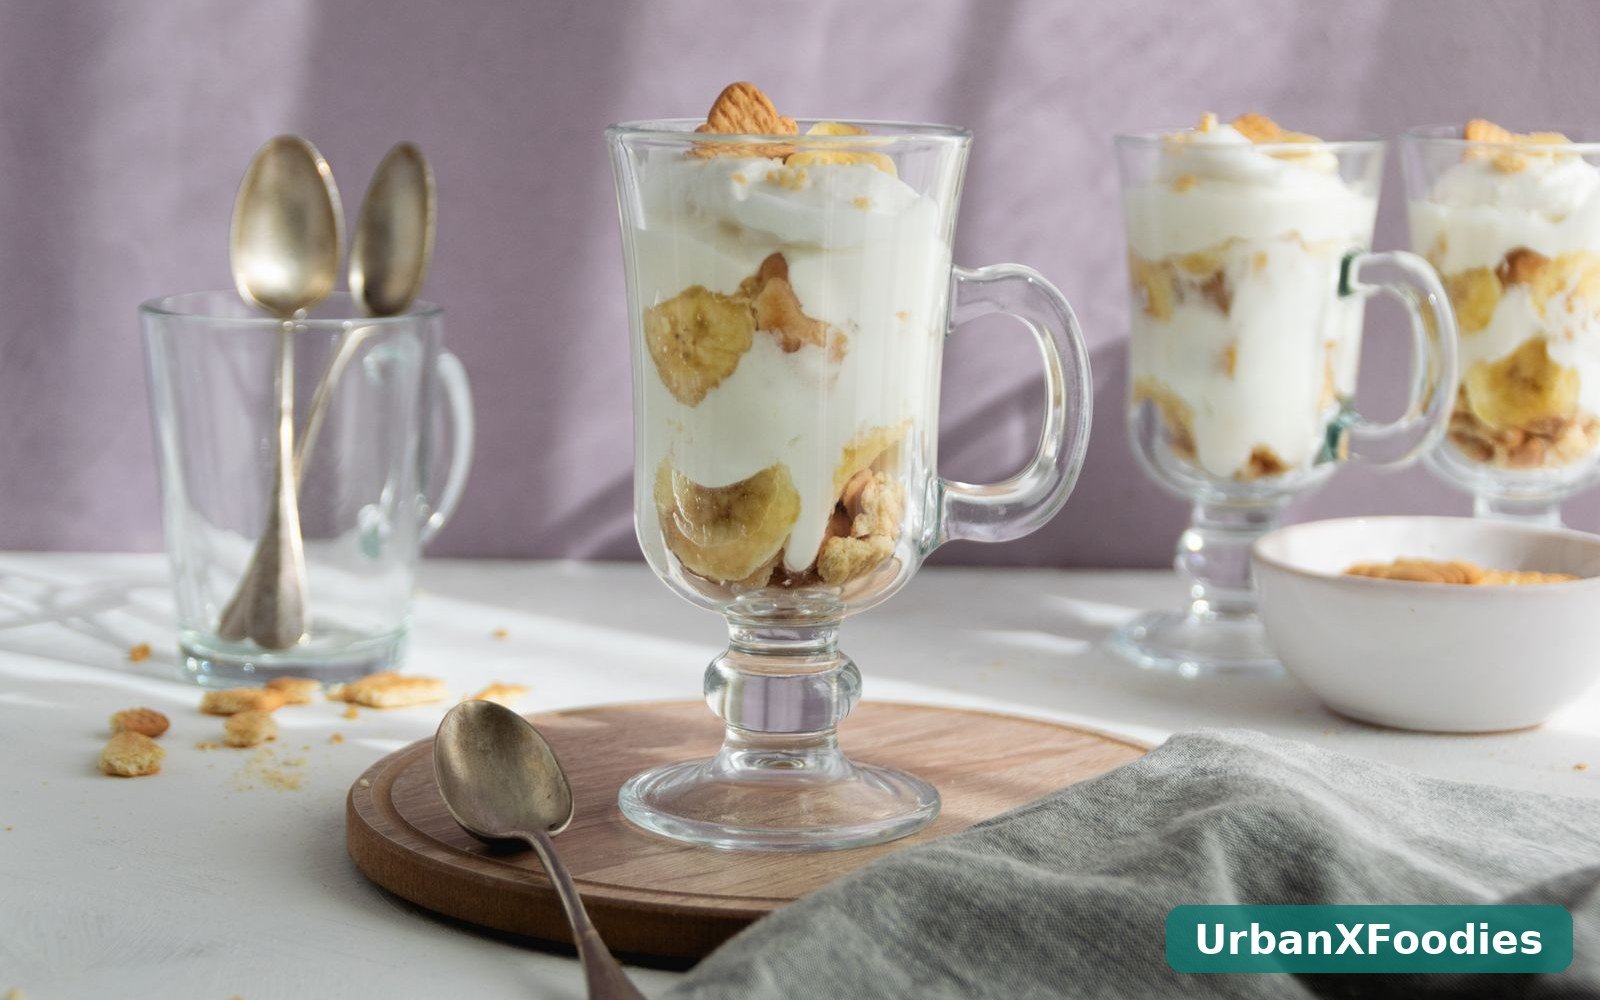
Banana pudding is at its best served cold, straight from the fridge, in wide, shallow bowls that let you get a bit of every layer in each spoonful. If you made it in a trifle dish, serve it at the table so people can see the layers before you scoop. That first look is part of the pleasure, especially for anyone who grew up with this dessert.
For a simple family dinner, serve it after something savoury and straightforward. It follows roast chicken, a skillet dinner, or a plate of crispy potatoes beautifully, because it is cool and sweet after a warm, salty main course. If you are planning a full menu, keep the main course simple and let the pudding be the star. It does not need competition.
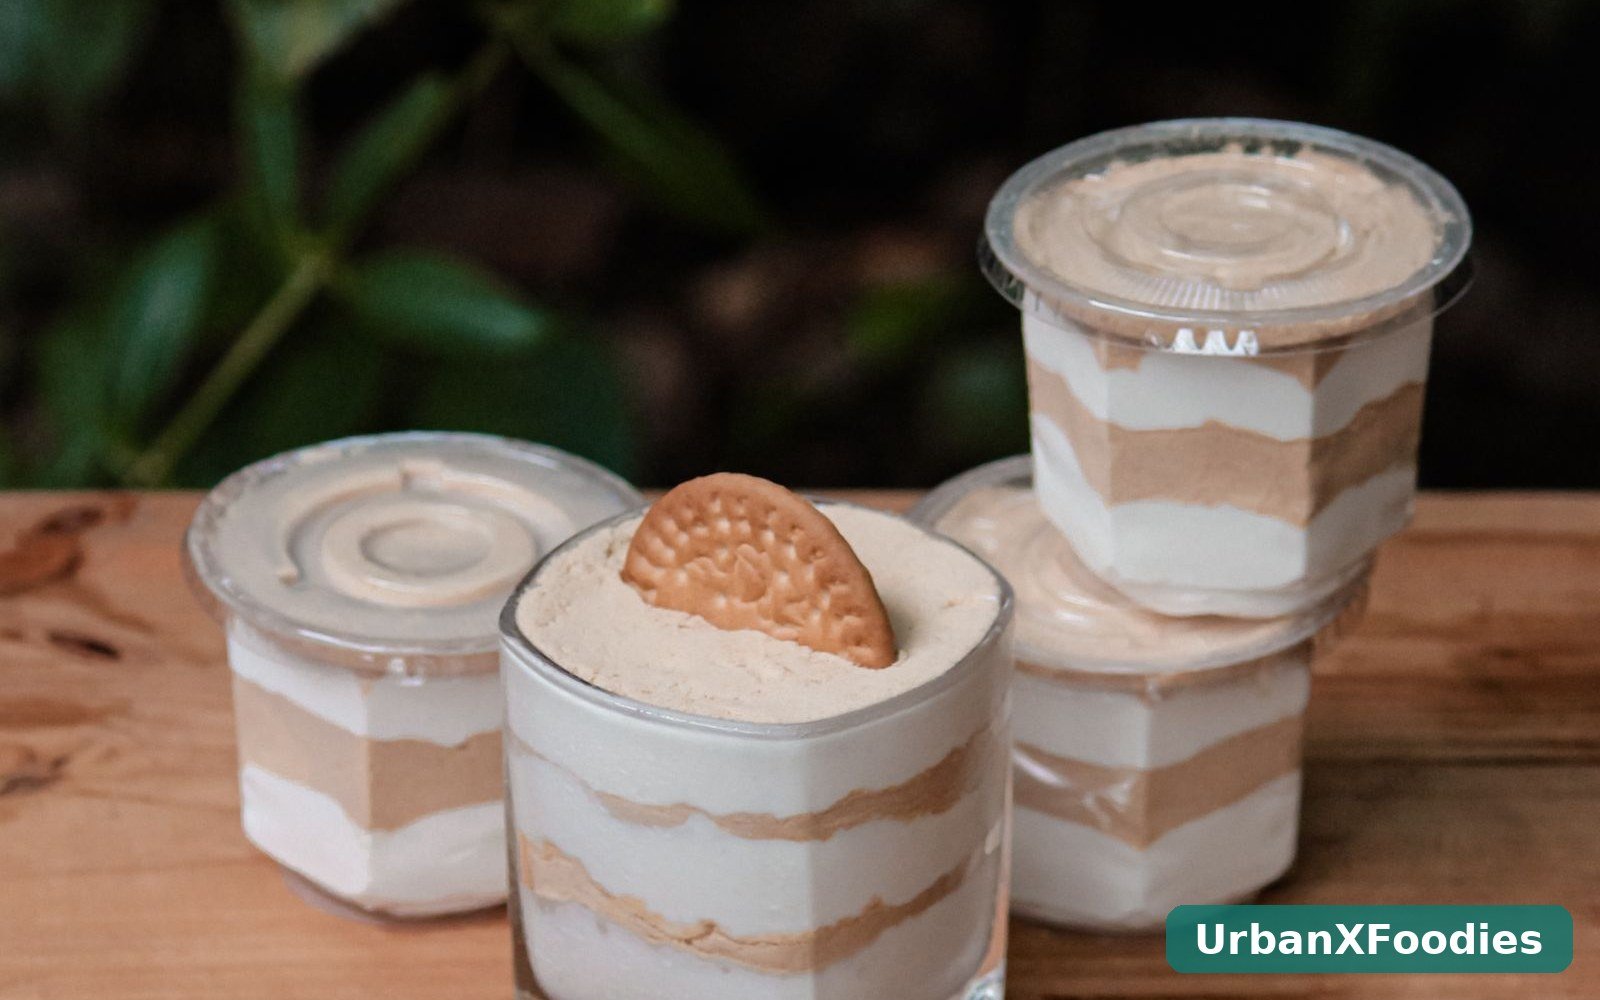
For a party, make it in individual glasses or small mason jars. Layer the wafers, bananas, and custard in each glass, chill them on a tray, and top with cream just before serving. People can pick one up and wander, and you do not need to worry about serving from a big bowl while everyone is standing around. This also works well for a potluck, since the jars travel better than a large open dish.
If you want to dress it up a little, serve each portion with a drizzle of caramel sauce, a sprinkle of toasted pecans, or a wafer stuck upright in the cream like a sail. A little extra crunch on top contrasts nicely with the soft pudding underneath. Coffee goes well with it, and so does a glass of cold milk, which is how most people first ate it as children. Keep it simple. The pudding is the point. For more ideas, browse our Desserts & Baking recipes or try our small batch cookies for a smaller sweet treat, and plan a full meal with an easy chicken and rice skillet before dessert. If you want to read more about the history of this classic, see Banana pudding and this banana pudding recipe for another take on the same beloved dessert.
Storage and Make-Ahead
Banana pudding keeps in the fridge, covered, for up to 2 days, and it is best within the first 24 hours. After that, the bananas will darken and the wafers will soften further, though the flavour will still be good. Do not freeze banana pudding. Freezing changes the texture of the custard and the bananas, and it will be watery and unpleasant when it thaws.
To make it ahead, assemble the pudding the night before you need it and keep it covered in the fridge. Whip the cream and add the topping wafers just before serving, so the cream stays fresh and the wafers stay crisp. If you need to transport it, keep it cold in a cooler bag and do not leave it at room temperature for more than 2 hours, especially on a warm day, because of the eggs and dairy in the custard.
Leftovers, if you have any, should go straight back into the fridge in a covered container. Eat them the next day for lunch, if you can resist finishing them the night before. A small bowl of cold banana pudding the next afternoon, eaten standing up in the kitchen, is one of life’s quiet pleasures, and I would not judge anyone for it.
Frequently Asked Questions
Can I use instant pudding mix instead of homemade custard?
Yes, you can, and many people do. Use two boxes of instant vanilla pudding prepared with cold milk according to the packet, and layer it in the same way. The result will be quicker and still tasty, but it will not be quite as rich or as silky as the homemade custard. If you are short on time, instant pudding is a perfectly good shortcut. If you have twenty minutes to spare, the homemade version is worth it.
Why did my bananas turn brown?
Bananas brown when they are exposed to air, and that is completely normal. The lemon juice in this recipe slows it down, and the custard covering the bananas helps too, but some browning inside the pudding is inevitable, especially after a day in the fridge. It does not mean the pudding has gone bad, and it does not change the taste much. If the appearance bothers you, serve the pudding within 24 hours and add fresh banana slices on top just before serving.
Can I make banana pudding without eggs?
You can make an egg-free version by leaving out the yolks and increasing the cornstarch to 1/3 cup. The custard will be a little less rich, but it will still thicken and taste good, especially if you add an extra tablespoon of butter at the end. Stir it well and cook it for a full minute after it thickens, so the cornstarch flavour cooks out. This version is also a good option if you are serving someone with an egg allergy.
What dish should I use for banana pudding?
Any deep dish works, but a glass bowl or trifle dish shows off the layers best. A 9 by 13 inch dish works well for a crowd and is easy to cover and transport. Individual glasses are best for parties. Avoid very shallow dishes, because you need depth for at least three layers, and that depth is what gives the pudding its soft, layered texture.
How do I know when the custard is thick enough?
The custard is ready when it coats the back of a spoon and holds a clear line when you run your finger through it. It should also be bubbling gently in one or two places. If you are unsure, err on the side of cooking it a little longer rather than taking it off too soon, because undercooked custard will stay runny in the fridge. A minute of extra stirring on the stove is much easier to fix than a runny pudding the next day.
Can I add whipped cream into the layers as well as on top?
Yes, and some people prefer it that way. Fold a cup of whipped cream into the cooled custard before layering for a lighter, mousse-like pudding. It will be softer and less dense than the classic version, and it will not hold its layers quite as neatly, but it tastes wonderful. If you do this, chill the pudding for at least 6 hours so it has time to set properly before serving.